Thursday, December 26, 2013

7 Layer Dip


16 oz cream cheese, softened
1 15 oz can refried beans
1 cup taco sauce (don't use salsa, it's too runny)
1 1/2 cup shredded cheddar cheese
1 4 oz can black olives, drained
1/2 cup chopped green onions
1/2 cup chopped, seeded tomato
1 box Ritz Crackers

Spread the cream cheese in a layer on a large platter with a rubber spatula.  (If you forgot to soften the cream cheese, don't worry, cut it into chunks on a microwave safe platter and microwave at 50% power for 30 second intervals until you are able to spread the cheese smoothly.)  Next spread the refried beans in a layer on top the cream cheese.  Do the same with the taco sauce.  Sprinkle the cheese on the first three layers, and then the olives, onions, and tomatoes.  Last, make a ring around the outside of the platter with the Ritz Crackers.  Serve immediately, or put in the fridge until party time.

People often ask why I use Ritz Crackers instead of corn chips.  The first reason is that it looks cool with the ring of Ritz around the outside.  The second is that chips usually break when you're trying to scoop up the dip, but crackers don't.

Saturday, December 21, 2013

Red, Red with Fried Plantains: Recipe from my trip to Ghana

When I traveled to Ghana in 2011, I asked if our neighbor Margaret Abu would teach us to make a couple of Ghanaian recipes.  She was kind enough to give us two cooking lessons.  The first was this recipe, which tastes like a vegetarian chili.  The second was for Ground Nut Soup.  After observing, estimating (she didn't measure anything), and asking a lot of questions, I was able to create the following recipe.  I've made it a couple of times since I came home and it turned out great!

Red, Red
1 large piece of ginger
3 cloves of garlic
2 small onions (1 chopped, 1 for the puree)
1 lb black eyed peas cooked according to package directions and drained
1 cup palm oil*
3 tomatoes, chopped
1 6 oz can tomato paste
1 – 1/2 tsp red chile paste
Pinch of nutmeg (optional)
1 cube fish bullion (optional)
salt to taste
Combine ginger, garlic, and one of the onions in a food processor and process until it becomes a thick paste. It should make about 1/2 cup. Heat the oil in a large pot over low heat. Add the chopped onion and cook for 2 minutes. Add the ginger, garlic, and onion puree and cook for an additional 3-4 minutes, stirring frequently. Add the chopped tomatoes, tomato paste, salt, and chile paste, stirring to combine (also add nutmeg and fish bullion if using). Cover and cook for 5 minutes. Add the beans, as well as a little water if the mixture is too thick (it should be the consistency of a thick chile. Cover and cook over low heat, stirring occasionally while you make the fried plantains. Can be served with either plantains or rice.
*Palm oil, which is quite commonly used in Ghana, may be difficult to find in the U.S.A. It is colored very brightly red and is what gives the meal its name.  I was unable to find it in any stores in my area, but found it online at amazon.com.  Apparently, they do sell everything.  
Fried Plantains
Palm oil or canola oil
8 – 10 ripe plantains
1 tsp salt
Fill a frying pan with 2 to 3 inches of palm oil and heat over medium high heat. While the oil heats, cut the plantains in half lengthwise, seeding if desired, and slice in 1/2 inch slices. Toss the plantains in a bowl with the salt until coated. Add to the frying pan (you may need to do in 2 or 3 batches) and deep fry for 7 or 8 minutes until the plantains turn red from the oil and float to the top. Margaret reminded us several times to always hold the handle when stirring the plantains in the hot oil. Remove the plantains and drain in a sieve or on a plate lined with paper towels. Serve as a side to red, red.

Monday, December 16, 2013

Gourmet Mom Tip: Multiple uses for your bottle brushes


Are your babies done with bottles?  Don't throw away your bottle brushes, use them to clean your Champagne glasses!  They work well to clean out travel mugs as well.

Saturday, December 7, 2013

Hosting a Holiday Cookie Party!

This year marked our 4th annual "Catch a Gingerbread Man," holiday cookie party.  Each year, I make gingerbread men, invite all my friends with kids, read the kids the traditional Gingerbread Man story, and then let the kids decorate a couple of cookies to eat.  It is a lot of fun and everyone looks forward to it every year.  This is something you could do for any holiday during the year.

So here's instructions on how to host your own holiday cookie party:

1.  Pick a theme and a date.  I picked the 'Gingerbread Man' because it is a generic holiday theme that already has cookies.  You could also do Valentine's Day hearts, St. Patrick's Day shamrocks, Fourth of July flags, etc.  I usually have my cookie party the Saturday before Thanksgiving because it is before people get too busy with holiday plans.

2.  Invite your friends.  Tell them you'll provide the cookies and frosting if they bring a candy decoration to share with everyone.

3.  Make your cookies and frosting ahead of time.  This way they'll be done and ready to be decorated.  My gingerbread dough needs to chill, so I usually make the dough the night before, and then bake the cookies in the morning.


4.  Read your story, color pictures, or do whatever activity fits in your theme.

5.  Give each guest a plate, plastic knife, and a dollop of frosting (this way if they eat it, they won't be sharing germs).  Put the candy in dishes and set at the table.

6.  Let the kids be as creative and messy as they want!  My kids always have a great time and can't wait until next  year!


Can you see the cookie under there?

Sunday, December 1, 2013

Turkey Noodle Soup

Have leftover turkey you need to use up?  Here's a great recipe!

Ingredients for the noodles:

1 1/2 cup flour
1/4 tsp salt
3 T butter (cold)
1 egg, beaten
1/4 cup water (cold)

Ingredients for the soup:

6 cups turkey stock (Make your own!)
1 cup thinly sliced carrots
1 cup thinly sliced celery
1/2 cup chopped onion
1/4-1/2 tsp freshly ground pepper
2-3 cups chopped cooked turkey (according to how much you want)
1/4 cup water
1/4 cup flour

Mix flour, salt, and butter together until blended.  Add the egg and water and mix until combined.  Divide the dough into fourths, roll out on a floured surface, and cut into 1/4 inch noodles with a sharp knife.  (I have a pasta machine, which is really nice for this recipe!)  Lay the noodles on a cheese cloth and allow to dry for at least 20 minutes while you complete the next step.


Bring turkey stock to a boil in a large pot (about 2 quarts).  Add the carrots, celery, onion and pepper (I left out salt because the stock should be salty enough).  Lower heat to medium low, cover, and simmer until veggies are tender.  Add the turkey and simmer for another 5 minutes or until the meat is heated through.  Mix the water and flour together and stir into soup.  Let simmer, covered, for about 5 minutes or until the soup starts to thicken.  Add the noodles and simmer, covered, for another 10 minutes.

*Based on and adapted from the recipe, "Chicken 'N Dumplings" on page 16 of the cookbook, Better Homes and Gardens America's Best-Loved Community Recipes, Vol. II.

Make Your Own Turkey Stock

Still have that turkey carcass in the fridge?  Don't throw it out, use it to make your own turkey stock/broth.  It takes time, but it isn't that hard and tastes delicious!

Step 1:  Remove all the meat (hint:  cooked turkey meat can be frozen and used for recipes later on).  

Step 2.  Put the carcass in a large stock pot (mine is 10 quarts) along with any vegetables and spices you want for flavoring.  My stock has carrots, celery, smashed garlic cloves, an onion, about 10 pepper corns, an apple, and a bunch of parsley.  I usually just go through the fridge and put in whatever I happen to have in the crisper that needs to be used up. 

Step 3.  Bring to a boil, cover, and simmer for at least 2 hours.  Some people simmer their stock it all day.  Don't be concerned if the lid doesn't fit at first.  As the carcass cooks, it will break apart and the lid will fit.

Step 4.  Add sea salt to taste.  I usually do a tablespoon at a time.  Remember, you can add more, but you can't take it out.

Step 5. Using a large bowl and a mesh strainer, strain the broth, removing the bones, veggies, and meat.  Some people skim the fat off once the stock has cooled.  I wouldn't recommend this.  You might be removing fat, but you're also removing FLAVOR.   

Step 6.  Use your turkey stock right away and save the rest for another use.  You can put the broth in plastic containers or plastic freezer bags and freeze it for later.  I like use plastic pitchers because I know exactly how many cups is in each one without having to measure.

Note 1:  You can use this same method for chicken stock, although you will use a much smaller pan.  I usually use a 2 quart pot when making chicken stock.  
 Note 2:  In my travels to Ghana in 2011, I had a cooking lesson from a neighbor in the rural village where I was staying.  I made the stock beforehand and the neighbor insisted on inspecting my stock and knowing how I made it.  I explained what I did, which is pretty much exactly how I made it here, and she approved.

Wednesday, November 27, 2013

Easier Method for Double Crust Pies

I love pie, but there's nothing easy about them.  I'm also not terribly artistic, so even my good pies don't look very good most of the time.  A few years ago, my mother-in-law told me about an easier method for making double crust pies and I decided to give it a try.  After making several pies using this method, I'll never go back to the old way!

Before you get started, it's important to find a good pie crust recipe.  I use the recipe in the Moosewood Restaurant Book of Desserts.  This is by far the best tasting crust I've made and the easiest to work with.  Even with a good recipe though, you need to make sure the dough is cold.  This might mean putting it in the fridge for a half hour or so before rolling it out.  Believe me, the extra time is worth it.

So here's what you do:

1.  Roll out the crust into a really big circle.

2.  roll up the crust with your rolling pin and carefully center it over your pie plate.  Make sure to fit the crust so that it lines the pie plate and doesn't break when you add the filling.

3.  Add the filling.  (This is a cherry blueberry pie, also from my Moosewood cookbook).

4.  Fold over the edges.

5.  Wet your fingers and carefully moisten the dough so that it sticks together.  Don't forget to use a knife to make vents!  Bake according to pie directions.

6.  Voila!  A beautiful double crust pie!  

Saturday, August 31, 2013

Ground Nut Soup

In 2011, I had the opportunity to travel to Ghana in West Africa for a short, 3 week study abroad. While there, I was fortunate enough to get a cooking lesson from our neighbor, Margaret. As she cooked, I took notes and created the following recipe. She didn't measure anything, but I think I guessed on the amounts pretty well. Since I've come home, I've made the recipe and it tasted great! I have another version of this soup in an African cookbook and requested that Margaret make this because I loved it so much and wanted to see how her version compared.  There's a few slight differences, but both are delicious!

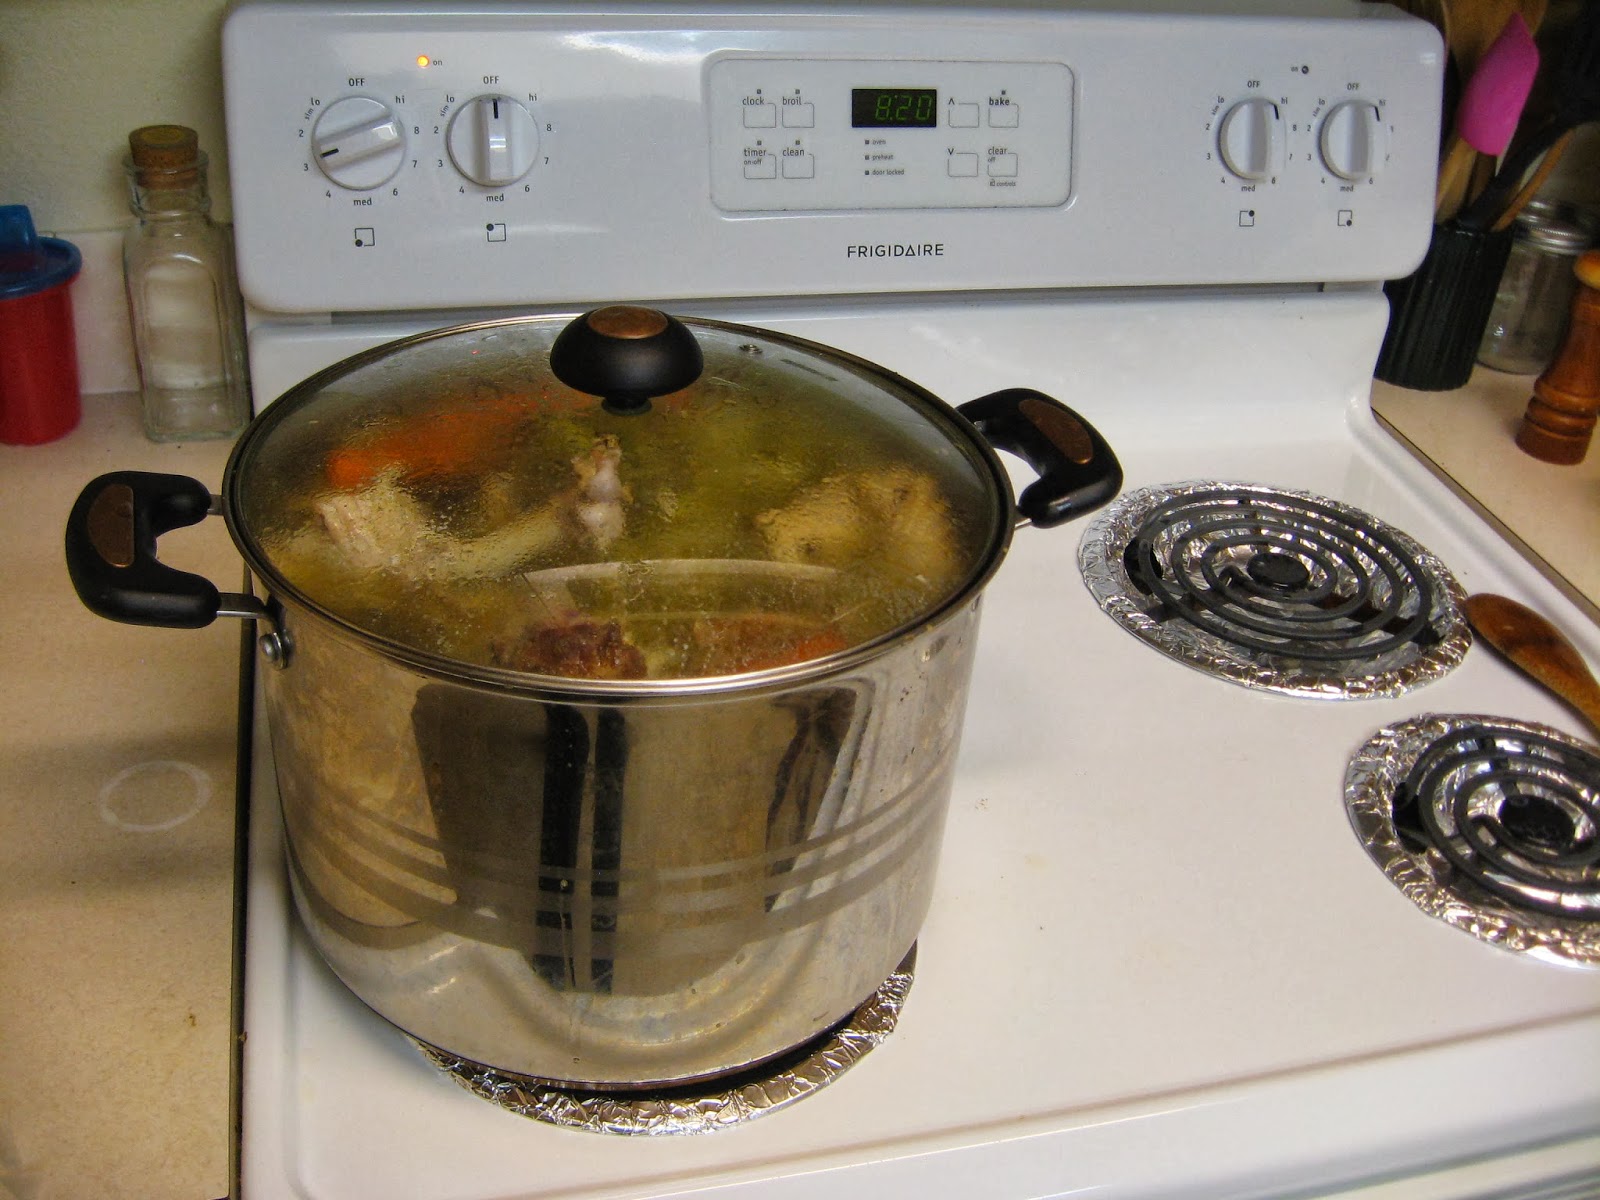
I had prepared the chicken and made homemade stock before Margaret came for the lesson and she asked to see it and explain what I had done before she got started.  I think she doubted an American girl's cooking abilities.  Just so you know, I passed inspection

Preparing the chicken and stock
.

3 lb chicken
2 cups groundnut paste
3 cups hot water
3 tomatoes
8 cups chicken stock
1 tsp salt, or to taste
red chile paste to taste (optional)
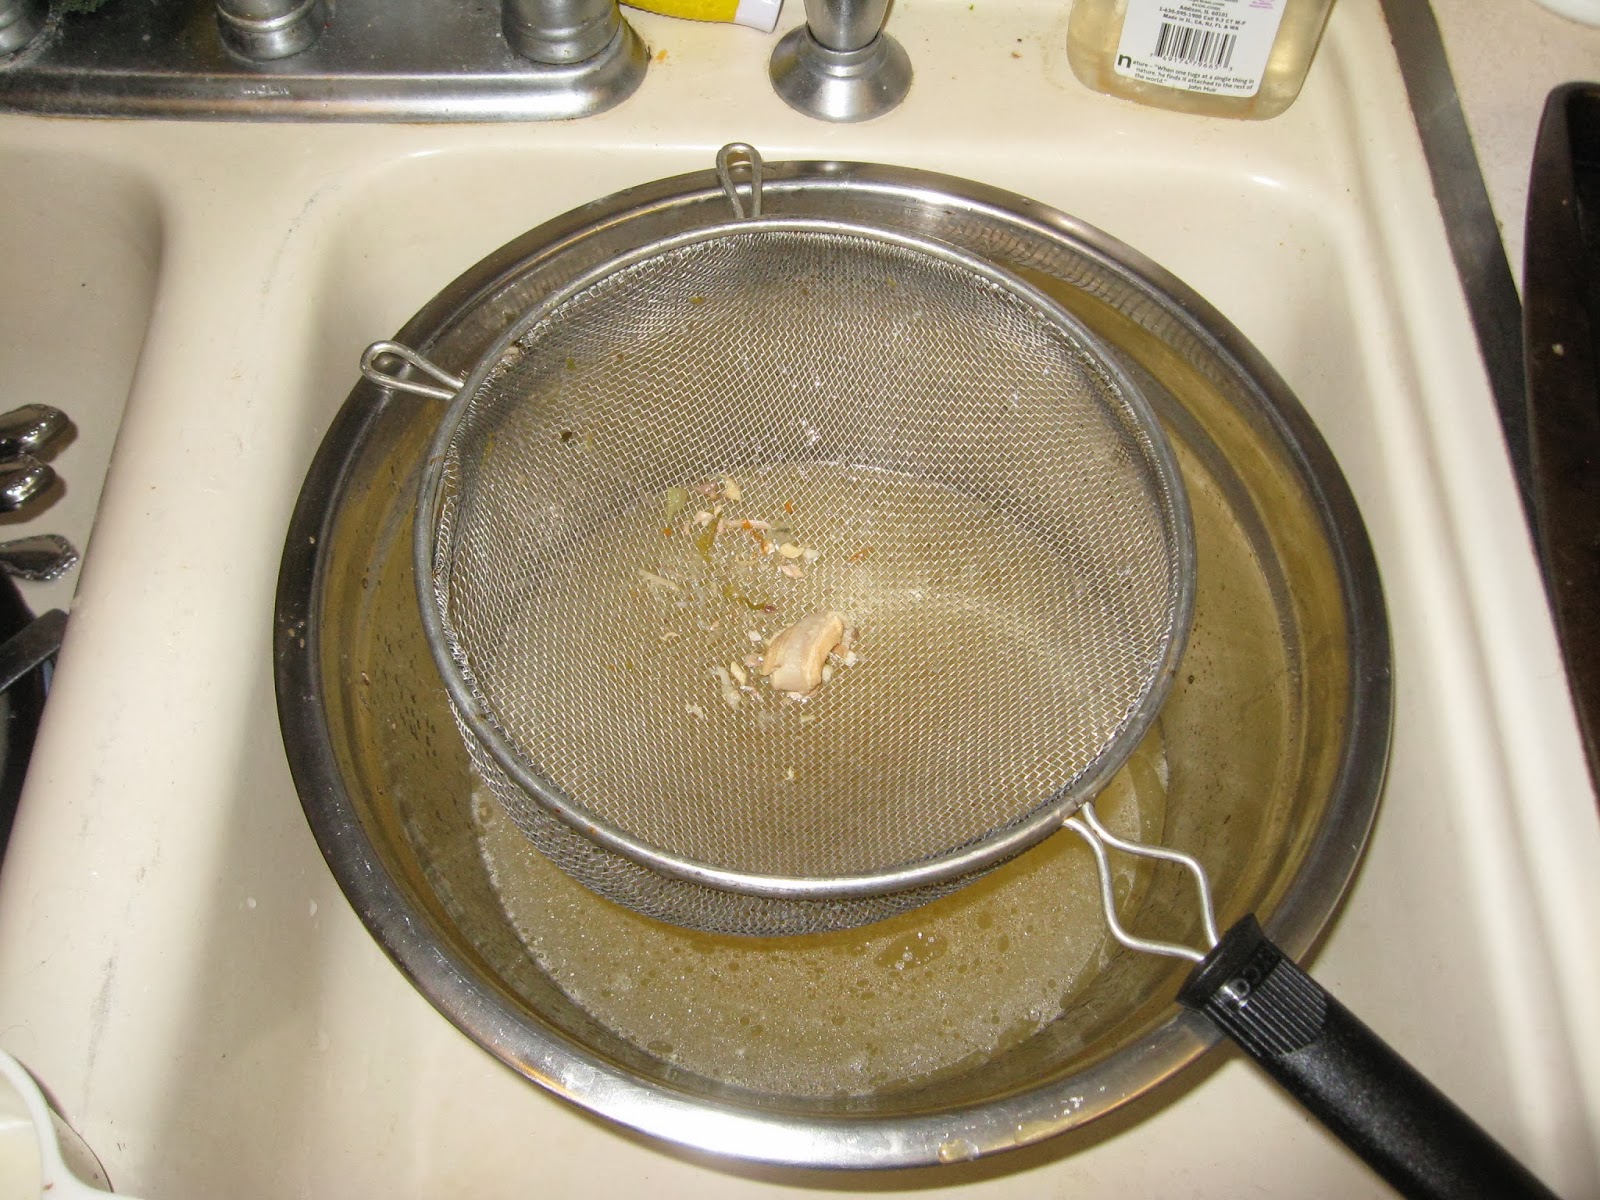
Place the chicken in a large stockpot with 8 cups water, onion, garlic, a piece of fresh ginger, carrots, salt, and black pepper.  Bring to a boil, cover, and simmer over medium low heat for 90 minutes.  Remove the chicken and let cool.  Strain the vegetables and any excess fat from the broth.  When the chicken has cooled, remove the meat and cut into bite sized pieces.  I made our chicken and stock before Margaret came over.  She asked to see it and approved of my methods of cooking.
In Ghana, groundnut, or peanut paste is available at the market.  In the US, you will need to use natural peanut butter (which will have added salt and sugar), or go to a supermarket where you can grind peanuts to make homemade peanut butter.
Place your groundnut paste in a large pot.  Add the water one cup at a time, stirring until smooth.  Cook the peanut mixture over medium heat, stirring frequently to prevent burning, for 15 minutes or until the peanut oil starts to separate.  Skim the excess oil from the top and remove from heat.
Meanwhile, core the tomatoes and boil, covered in a few inches of water for 5 minutes.  Remove the peel and blend in a food processor.  We didn't have a food processor, so Margaret pushed the cooked tomatoes through a slotted spoon with a fork.  She told us that if we wanted to make African food, we needed a food processor.
Place the cooked chicken in a large stockpot with 3 cups broth, tomato puree, and salt.  Bring the chicken mixture to a boil, then add the peanut mixture.  Bring to a boil and add the additional 5 cups of broth.  Partially cover and simmer over low heat for 30 minutes.  Add more water or broth if the soup gets too thick.  Serve with rice or fufu.  A few of us added a little red chile paste to give it a little spice.

Saturday, August 24, 2013

Bear Pancakes

This is a simple way to make pancakes even more fun than they already are!  All you need is pancake batter, blueberries or chocolate chips, a large serving spoon, and a teaspoon.  Heat your pancake griddle, pour one scoop batter with the serving spoon and two scoops with the teaspoon for the "ears."  Using three blueberries, give your bears two eyes and a nose.  Voila!  Bear pancakes!

Go here for my recipe for half whole wheat pancakes.  Who needs a mix when making pancake batter is SO easy!

Sunday, August 11, 2013

Nana's Rhubarb Sauce

I'll never forget the first time I tried this recipe in the summer of 1987.  I was visiting my grandparents and great-grandparents in Kansas with my dad and brother.  It was Sunday morning and I couldn't figure out why I had to wait so long for breakfast because I had never heard of 'Sunday brunch' (I was 8 years old).  Finally, around 10 am, we sat down and had a huge brunch.  The only thing I remember from the meal is Nana's (my great-grandma) rhubarb sauce on homemade biscuits.  When we got home, I begged my mom to get the recipe and Nana was nice enough to share it!  This recipe is easy to cut in half or double and uneaten portions of rhubarb sauce can be put in the freezer.

4 cups rhubarb
1 cup sugar
1/4 inch water

 (optional) few drops red food coloring

Put the water in the bottom of a medium sauce pan, then add the rhubarb and sugar.  Cook over medium low heat, stirring occasionally, until the rhubarb cooks down into the consistency of a sauce.  If desired, add red food coloring.

Note:  I do not add artificial dyes to my food due to health concerns.  This means that the color won't be as pretty, but it will be safer for your kids.

Friday, July 5, 2013

Rhubarb Roll

I love rhubarb!  This is my Great-Grandma Margaret's recipe and one of my family's favorite summer desserts.  The original recipe calls for red food dye and shortening.  I have adjusted the recipe to leave out these ingredients, see my note at the end.  

Syrup
2 C water
1 ½ C sugar
2 T butter

Heat to a boil, and then remove from heat.  Add a few drops of red food coloring.

Dough 
2 C flour
4 tsp baking powder
1 tsp salt
6 T shortening
2/3 C milk

Mix the flour, salt, and baking powder together.  Add the shortening and mix until it forms small crumbs.  Add milk.  The dough will be sticky.  On a floured surface, roll into a rectangle.

Rhubarb
4 C rhubarb
½ C sugar
3 T cinnamon

Mix together.

Put the rhubarb mixture onto the center of the dough and roll up (see picture).  Cut with a knife into 2 inch slices.  Put slices into a 13X9 inch baking dish and pour sauce over the top.  Bake at 350 for 1 hour.

NOTE:  This is my great-grandmother’s original recipe.  I leave out the red food coloring in the syrup.  I also substitute 6 T butter for the shortening and decrease the milk to ½ C.